We’ve meal prepped in a slow cooker, the oven, on the grill, the list goes on. Today, we’re going to get even more convenient and teach you how to meal prep in your blender!
Yes, blender meal prep is possible. It takes just minutes to do, is super convenient, and you can do it with just about any recipe.
Just like any meal prep, the first step is to figure out out how much you need and that starts with figuring out how much your blender can hold.
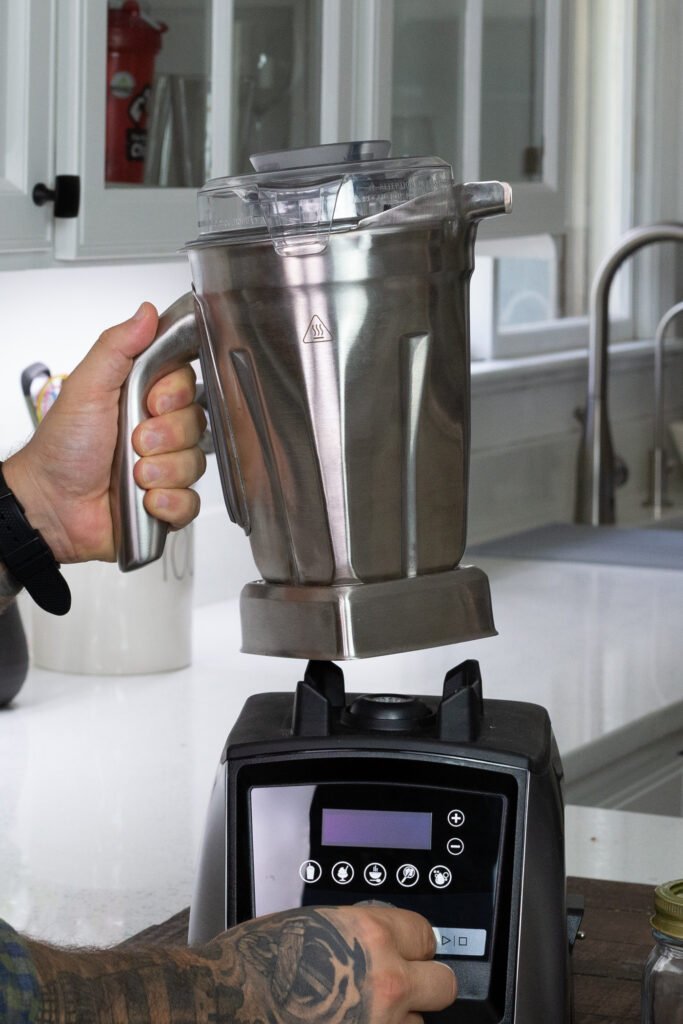
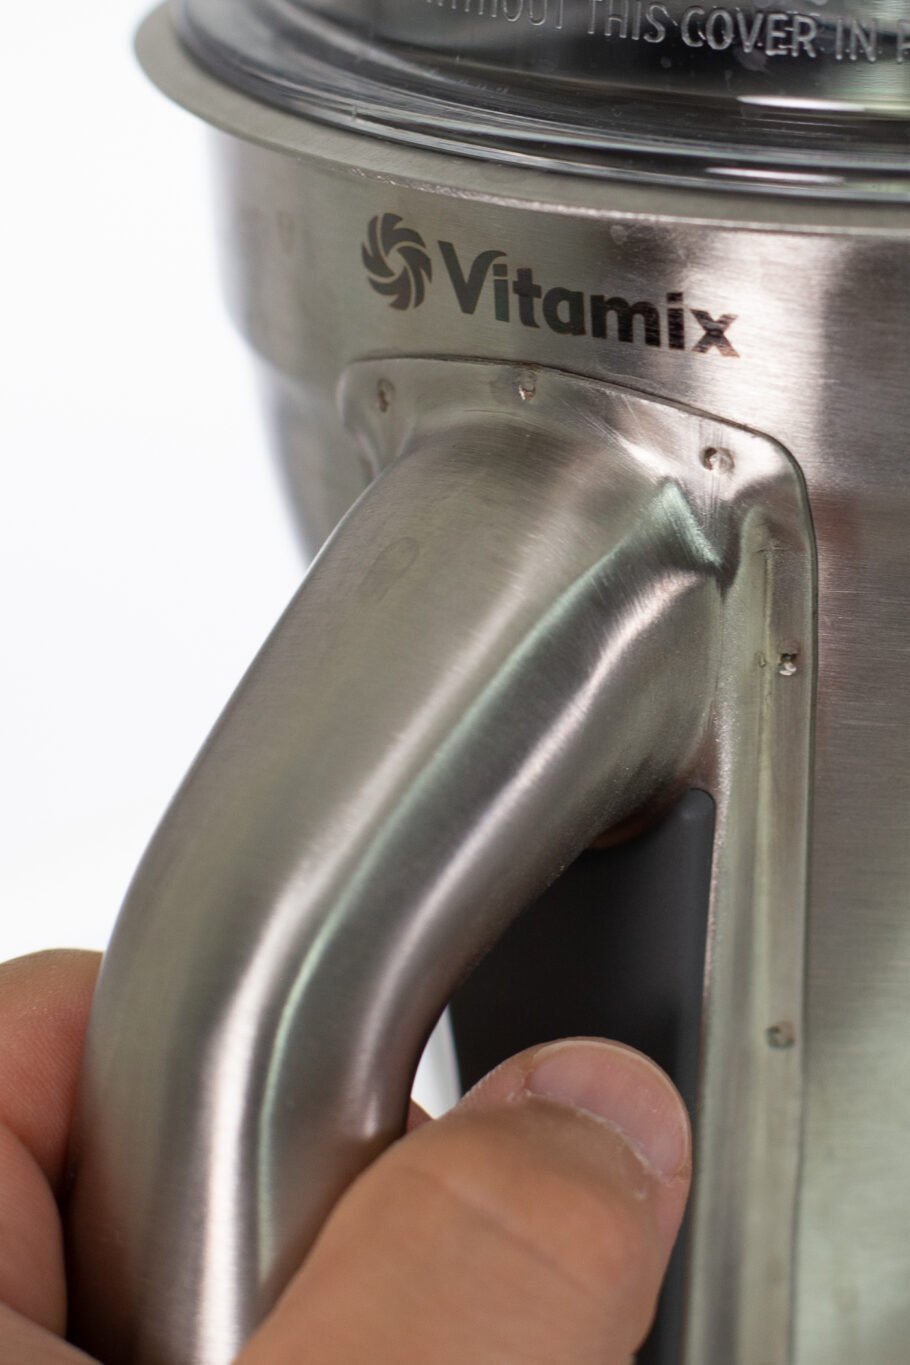
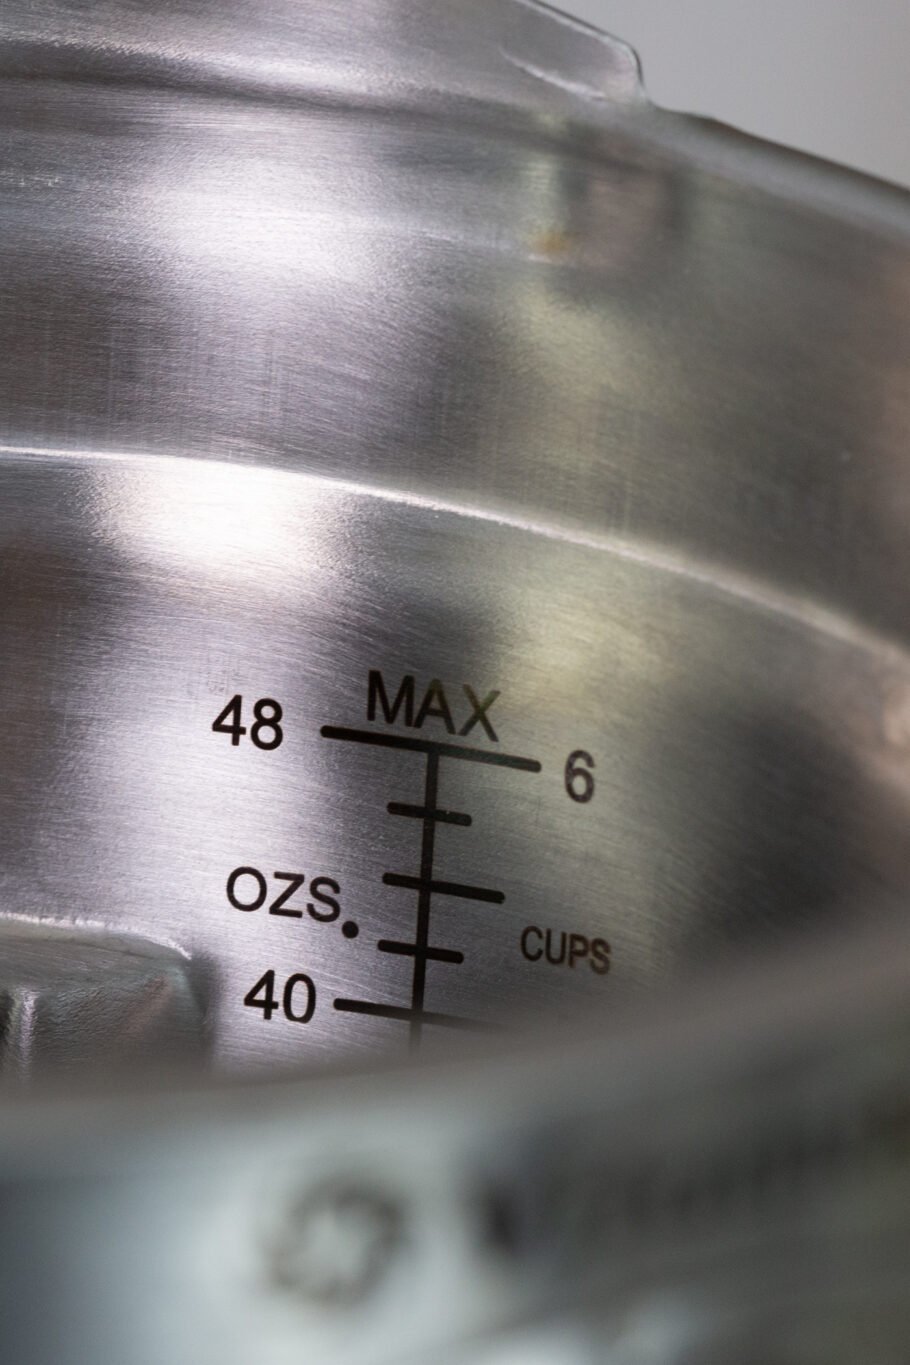
We’re using our Vitamix A3500 with 48 Ounce Stainless Steel Container so we’ve got 48 ounces to work with!
Once you know the size of your container, all you need to do is scale your recipes accordingly.
I promise, this part is not nearly as hard as it sounds and you can do this a bunch of different ways but here are my favorite:
- Use a recipe you’ve already made before. This would be a recipe where you remember how much came from the serving.
For example, if you made a strawberry banana smoothie and got a 16 ounce glass worth then you could safely multiply each serving by 3 for 48 ounces which is the exact size of our container.
- Make multiple batches. This would allow you to make different blender meal prep recipes and even more than a couple days worth too.
- Start small and work your way up. If you have a particular recipe you like, start by doubling it and going from there. If your container had a ton more room after doubling it you could try tripling it or even more for next time.
I should also mention the Stainless Steel Container I’m using here works with all full-size Vitamix blenders, is BPA-free, super durable, doesn’t stain, is odor resistant, non-reactive, and take just seconds to clean! You can check it out here: https://bit.ly/3gIWs0Q
Blender Meal Prep Recipes
Now that we talked about scaling your recipes, let’s make a couple of my favorite kickstart morning ones!
For this first recipe, we’re getting our kickstart from coffee.
Add into your container 2 cups of spinach, 1 cup of rolled oats, 10 tablespoons of chia seeds, 4 tablespoons of cocoa powder, 2 bananas, 3 containers of vanilla Greek yogurt, 4 tablespoons of a nut butter, 8 ounces of unsweetened milk substitute, 10 ounces of coffee, and 2 teaspoons of optional xanthan gum to thicken up your smoothie.
Per Smoothie (Makes 4): 487 Calories, 15g Fat, 58g Carbs (38g Net Carbs), 20g Fiber, 14g Sugar, 30g Protein.
Want less calories? Make 8 servings instead of 4!
For this second recipe we’re getting our kickstart from green tea.
Add into your container 2 cups of blueberries (fresh or frozen is up to you), 1 banana, 8 tablespoons of chia seeds, 1 cup of rolled oats, 1 cup of fat free cottage cheese, 1 tablespoon of matcha green tea powder, 2 teaspoons of xanthan gum, and 20 ounces of unsweetened milk substitute.
Per Smoothie (Makes 4): 241 Calories, 5g Fat, 34g Carbs (24g Net Carbs), 10g Fiber, 10g Sugar, 15g Protein.
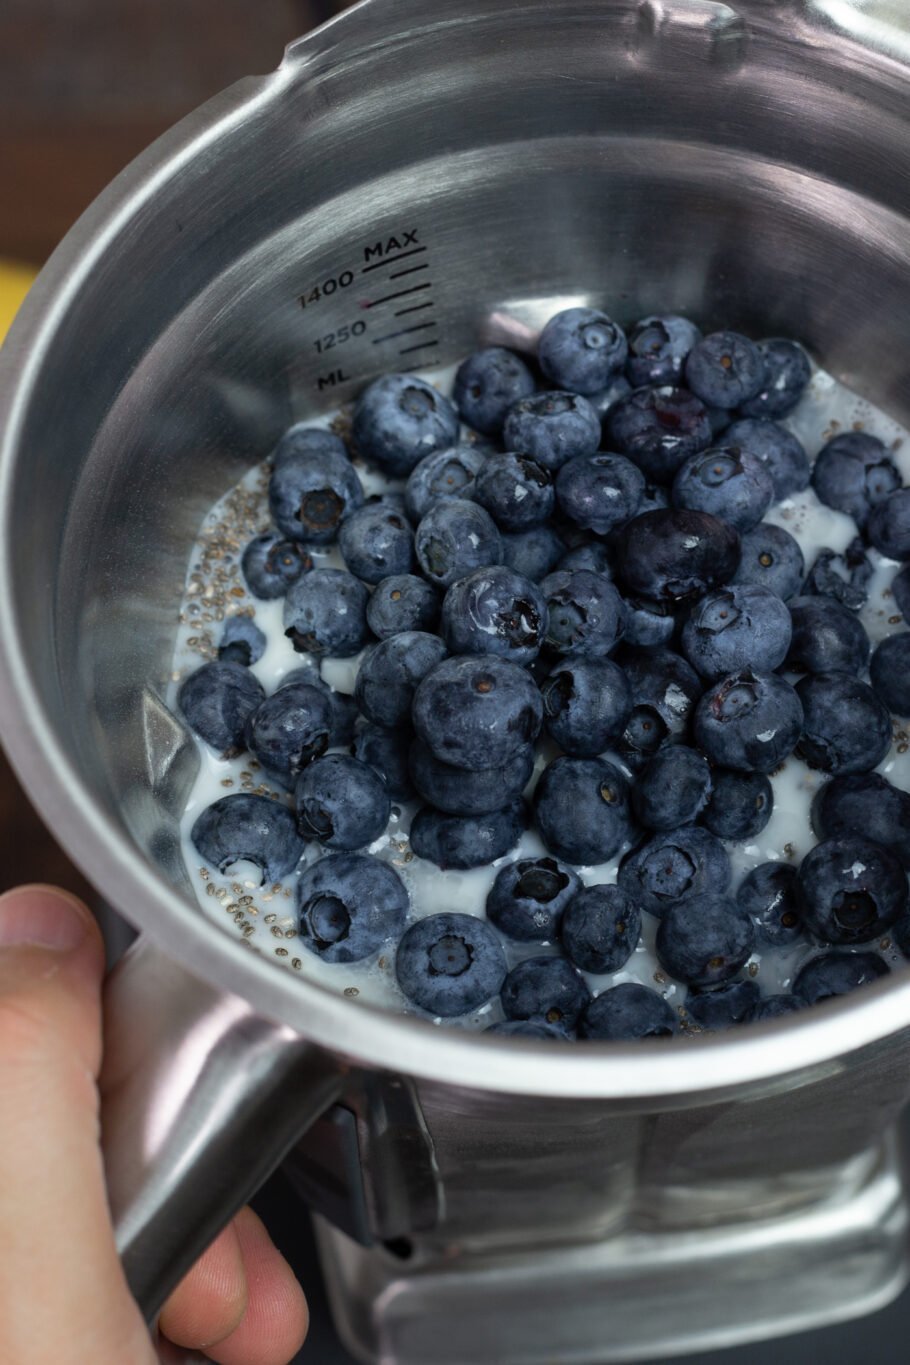
Both of these recipes should put you right up to the 48 ounce line of your container.
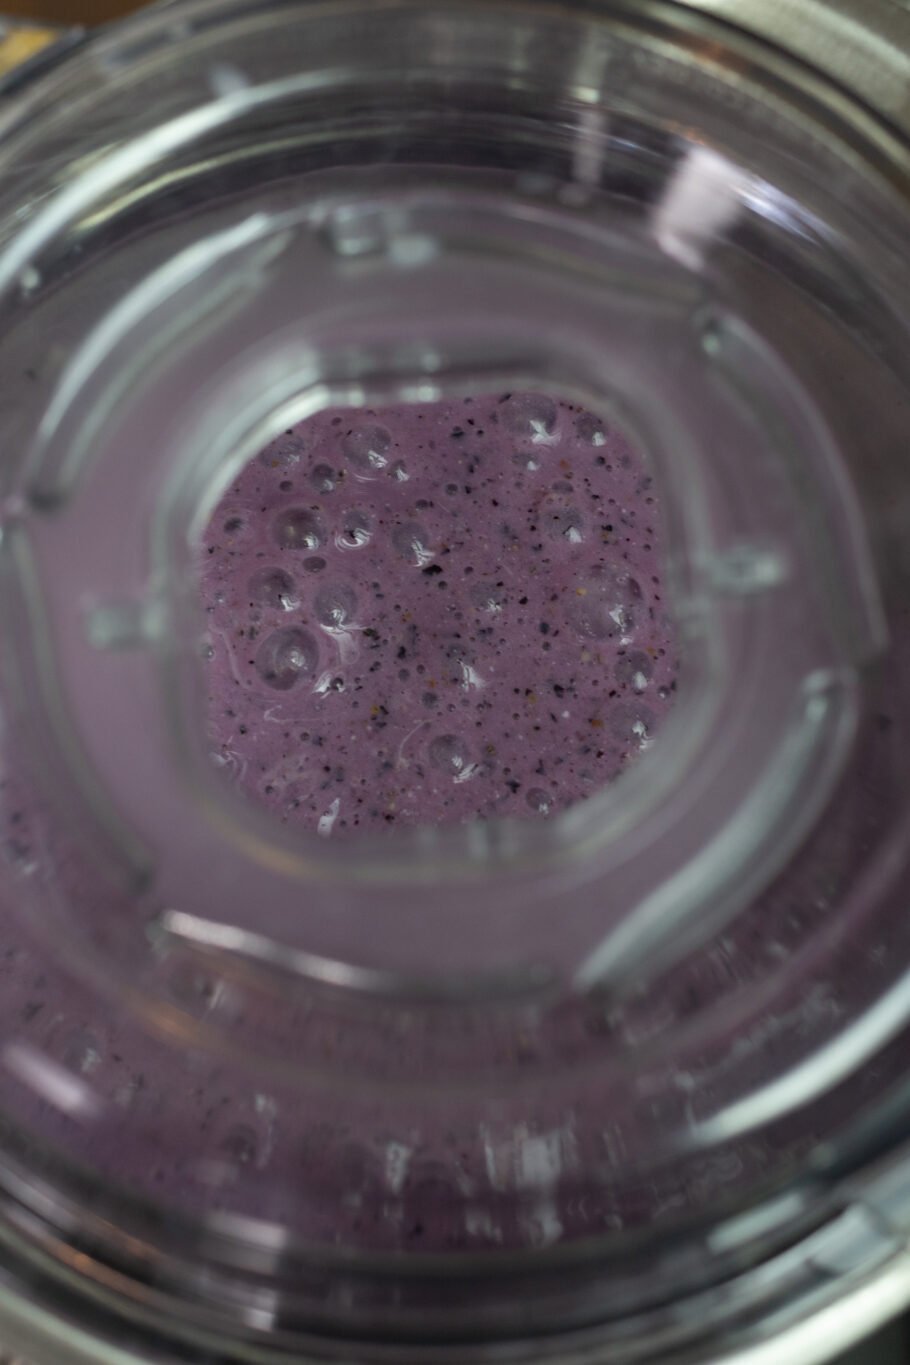
Throw your lid on, click it, snap it shut, and let your blender do the rest of the work!
A few more things you could consider here:
- Add in a couple scoops of your favorite flavor protein powder if you want more protein in your recipe
- Add more or less xanthan gum depending on how thick or thin you want your smoothie to be. Xanthan gum will also help these smoothies keep the “smoothie” part of them after portioning and storing them.
- You could reblend your smoothies with other fresh fruits, vegetables, and so on to switch up the flavor the day of if you’re looking for something different.
Blender Meal Prep Portioning
You’ve got your recipe or recipes done and you need to portion them. Don’t worry, this is the easiest part yet!
The only thing you need to portion your recipe is to just have enough drink containers and know how many servings you want. Easy, right?
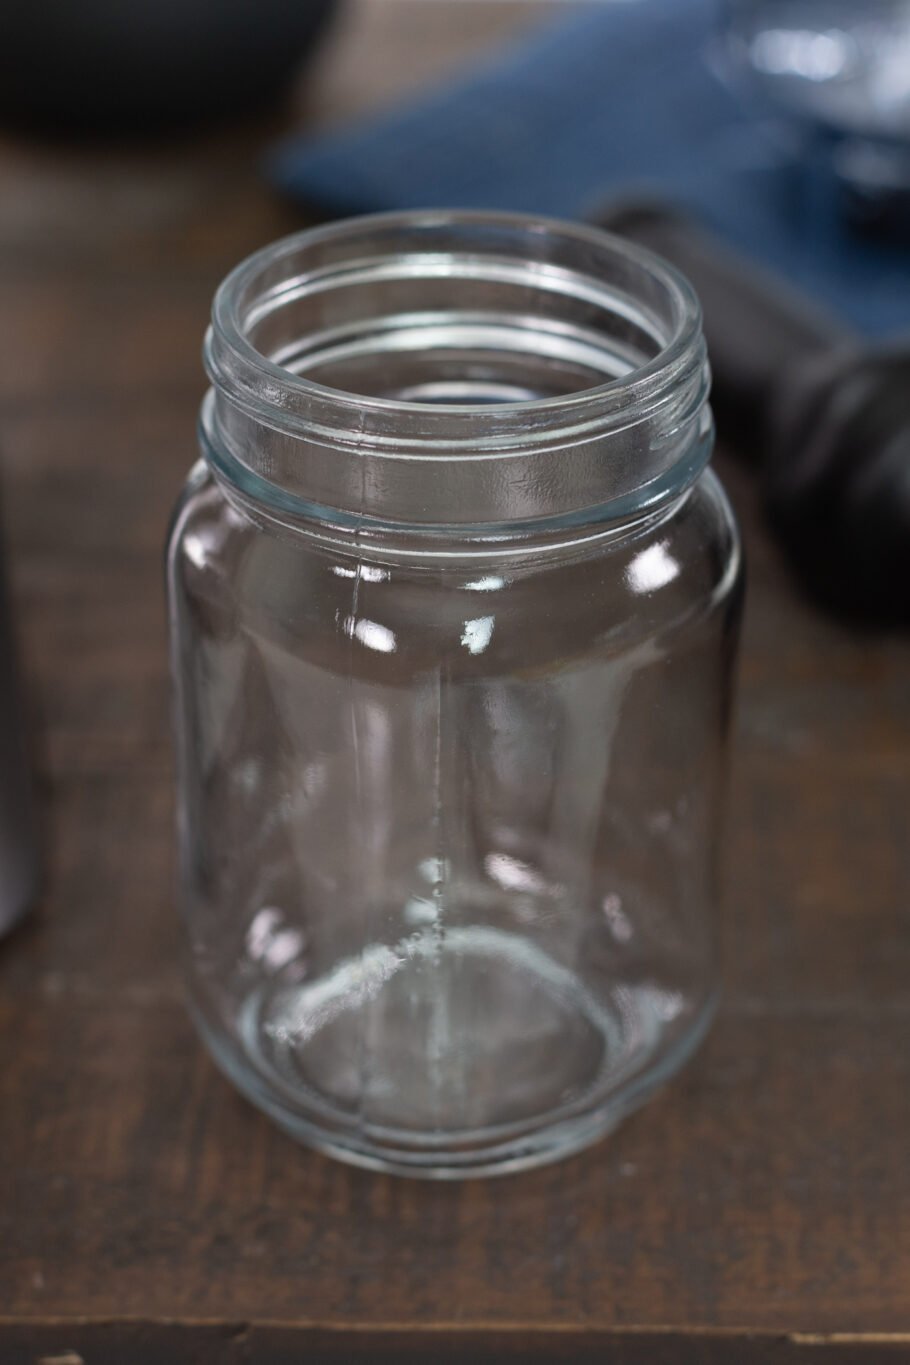
What I do is use these 12 ounce mason jars and with the recipes we made above, make 4 servings which is 4 days worth for me.
You could use bigger or smaller containers to make more or less servings. It’s really up to you how you want to portion your blender meal prep recipes.
Find Your Calories
Figuring out the calories per drink/serving to your meal prep would be your next step in this process. To do this, you need to calculate the total calories in the whole blender meal prep.
The first thing you’ll need is the calories in the original single serving recipe. You take those calories and multiply them by however many times over you made the single serving recipe.
You take that total and divide it by however many portions you made.
Let’s say the original recipe was 250 calories and you doubled the recipe which would give you 500 total calories for the whole blender meal prep.
From there, you decide to meal prep 4 small smoothies out of it. To find the calories per smoothie you would just need to divide 500 total calories by 4 (smoothies). This gives 125 calories per smoothie.
Does that make sense? That’s the easiest method, I’ve got a whole article and video on this if you want to check out other methods too.
Storing Your Blender Meal Prep
Chances are at this step you’re thinking, “If I just put these in the fridge, they’re definitely not gonna taste like a smoothie the next day…let alone after 4 days!”.
That’s where things change!
All you need to do is throw your lids onto whatever you’re using for your blender meal prep and put them in freezer. Before you go to bed at night, remove one from the freezer and place it in the fridge.
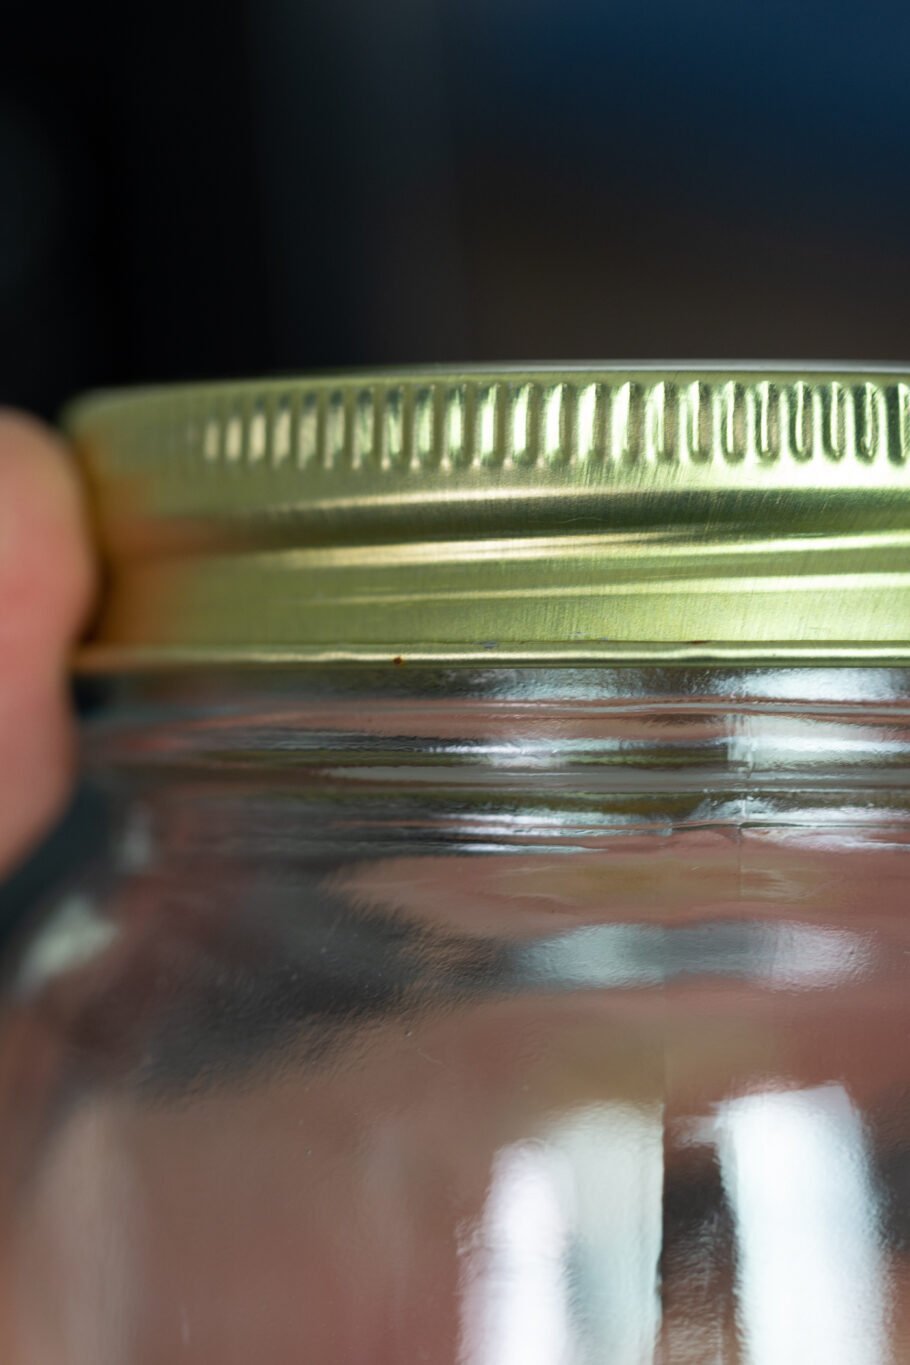
Seriously, that’s it! It’ll thaw and give you that same fresh smoothie texture by morning.
If you don’t eat first thing in the morning, another option here is to take it with you and let it thaw until your first meal time hits.
So there you go, another quick way to meal prep…blender edition! The whole point of this article is to just help you think outside the box and to make your meal prep more convenient.
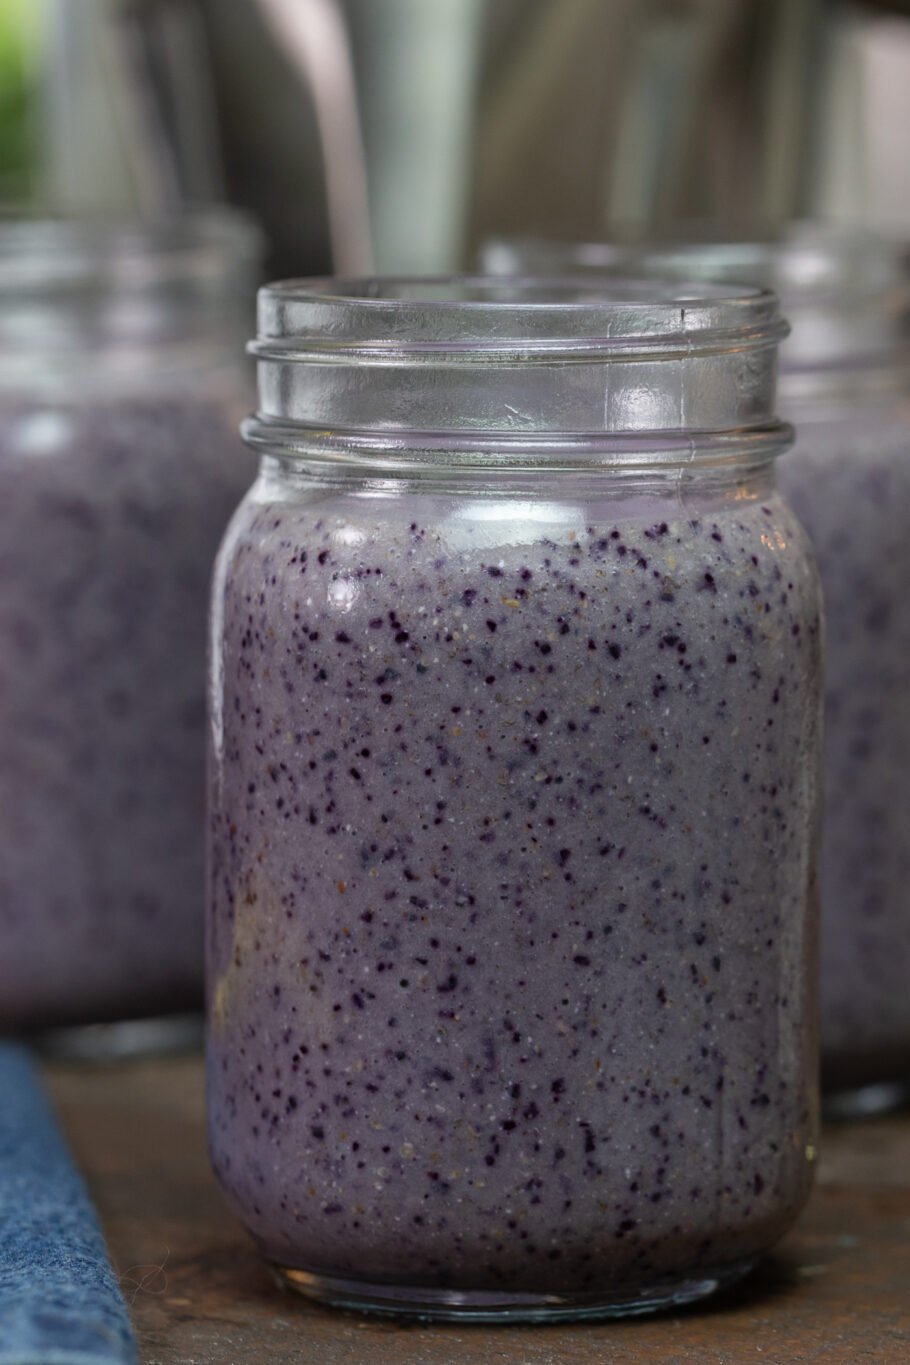
The best part? You can also use this method for pretty much any smoothie or protein shake and since you’re freezing them, you can really make as many servings as you can fit in the freezer.
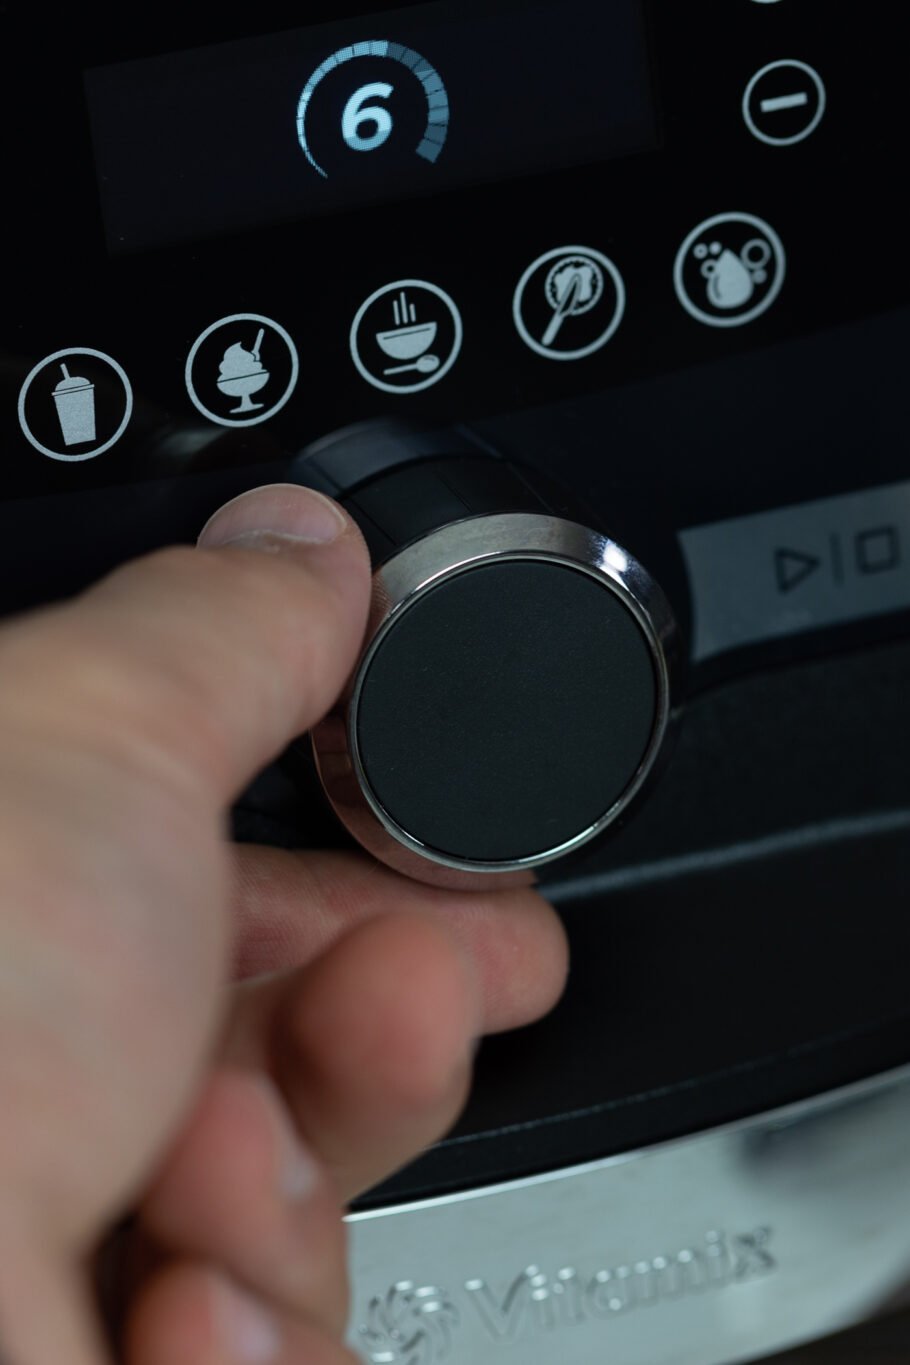
By the way, if you’re looking for a blender, I really can’t say enough about my Vitamix A3500. The phrase, “you get what you pay for” is more than appropriate when it comes to blending. No matter what I add into this thing, I know it’s going to easily get the job done.
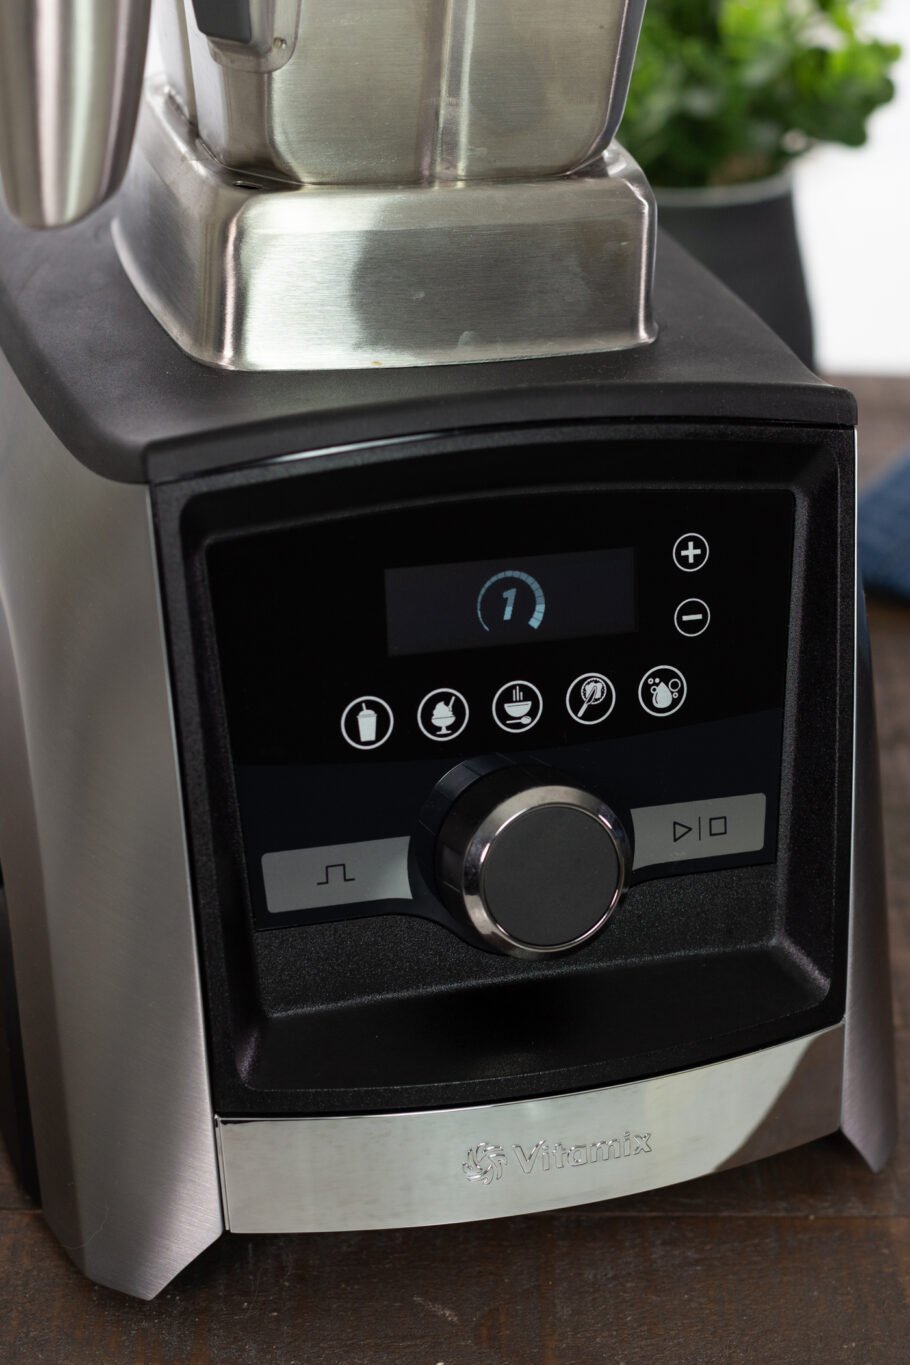
Vitamix has been around since 1921, that’s almost a century of blending! If that’s not enough proof of their quality or rapport, I don’t know what is. You can check my blender and container out here: https://bit.ly/3gIWs0Q
Looking for another quick recipe? Try our delicious Microwave Scrambled Eggs in a Mug next!
This video and post were sponsored by Vitamix!

