

No Bake Protein Peanut Butter Cups

Ready to beat your cravings with some No Bake Protein Peanut Butter Cups? This recipe is healthy, delicious, easy to make, and you only need a few ingredients to make them!
Start with either a food processor or really powerful blender. I prefer a food processor for this recipe (easier to get into) but if all you have is a blender that should work just as good.
Add into either your food processor or blender 2 tablespoons of peanut butter, 2 tablespoons of powdered peanut butter or peanut flour, 1/4 cup of drained & rinsed chickpeas, 1 scoop of protein powder, 1 teaspoon of vanilla extract, and 1/2 ounce of unsweetened vanilla almond milk.
Choose a protein powder flavor that tastes great and compliments the peanut butter flavor. I like vanilla but chocolate, banana, etc work great too.
Blend or process those ingredients together until it starts to clump up. This should take less than a minute.
Once it starts to clump up, STOP processing or blending! If you keep processing or blending after this point you’ll risk burning out your motor.
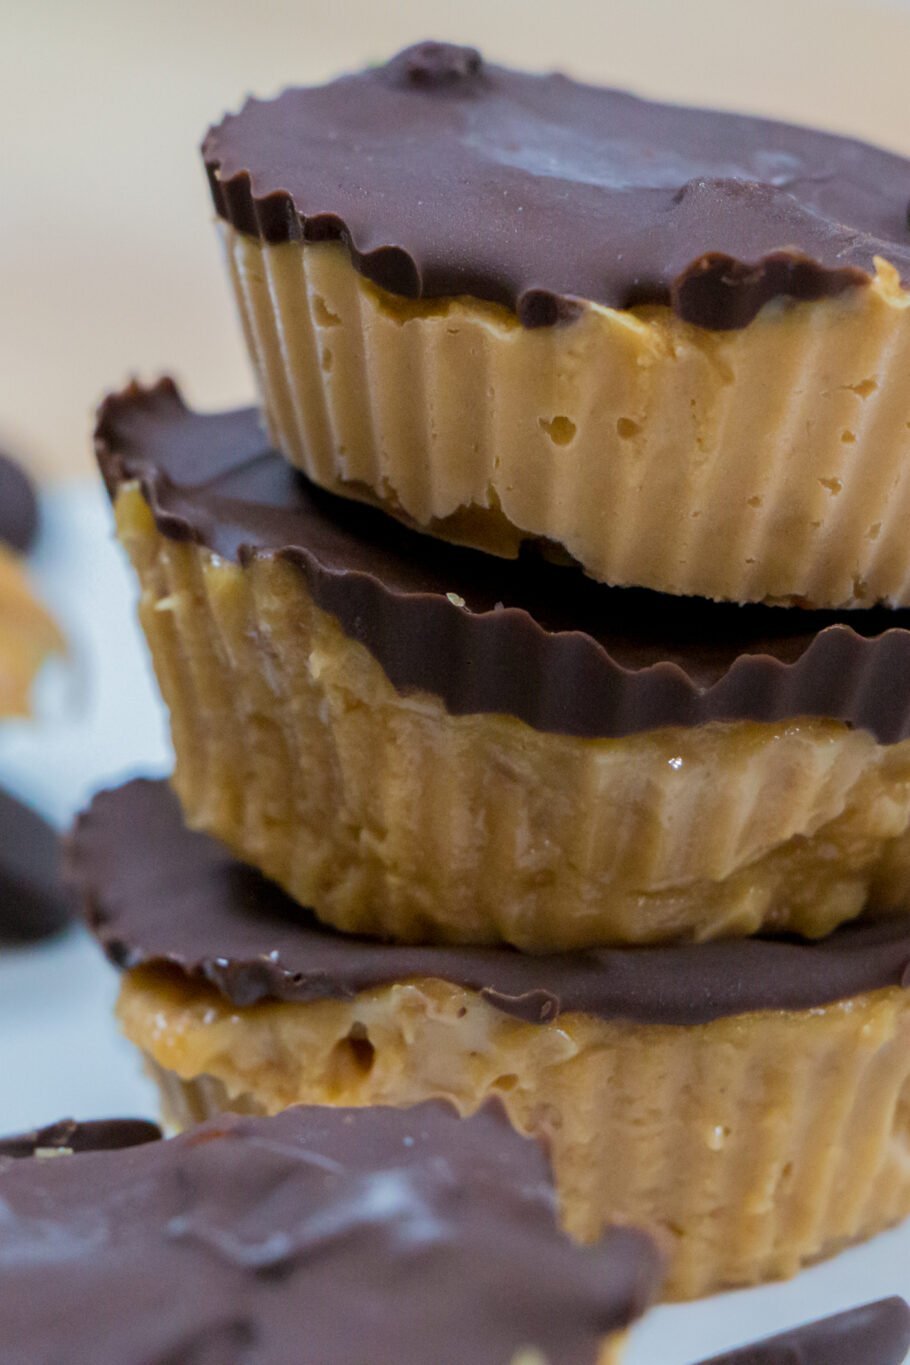
Take out some silicone cups or really any muffin pan and evenly distribute your mix into the bottom of whatever you’re using. I use my hands to press the mix firmly into each cup.
Pro tip? Damp hands won’t get sticky!
The reason I suggest silicone cups is that they’ll make taking your protein peanut butter cups out a lot easier. You can peel the silicone right off the cup without worrying about anything sticking, ripping, or falling apart.
Protein Peanut Butter Cups Topping
Melt 2 tablespoons of dark chocolate in either the microwave or on the stove. I’m strapped for time so I’m using the microwave today.
All you have to do to melt your chocolate in the microwave is to microwave it for :20-:30 seconds at a time. Pull it out after that time, mix it around, and repeat until it’s melted!
The more powerful your microwave is, the less time it’ll take. Keep an eye on it so that you don’t burn your chocolate and remember how long it took for next time.
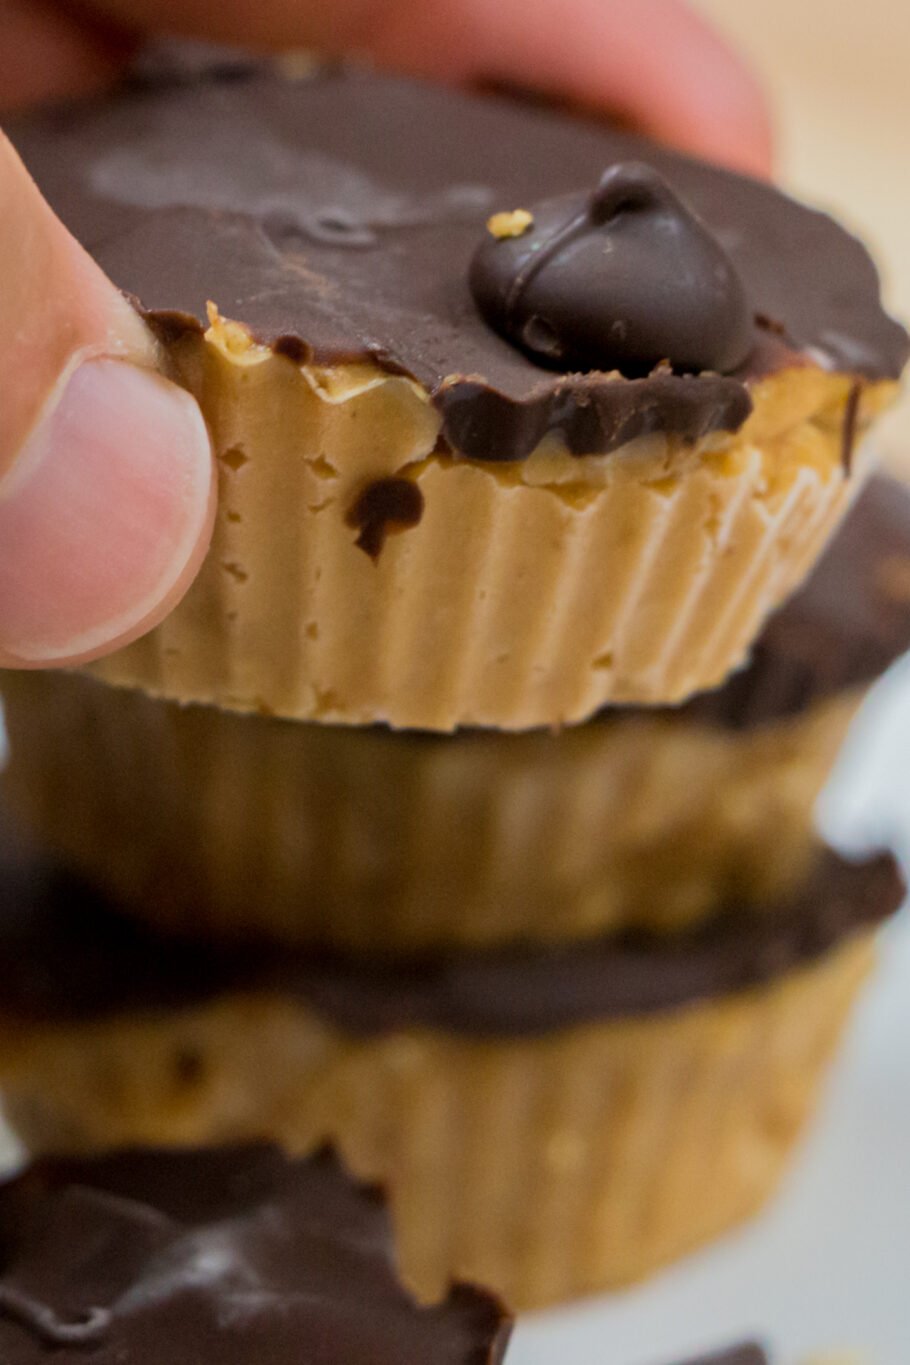
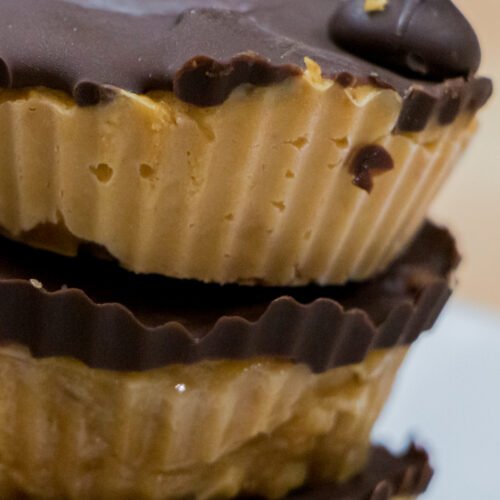
Evenly distribute that melted chocolate onto the tops of your protein peanut butter cups and spread it around with a spoon.
Put them in the freezer for 10-15 minutes or until they harden up and get ready to beat your cravings!
If you want to coat the entire protein peanut butter cup you can double or triple the amount of chocolate used. Make sure to adjust your macros accordingly if you do this.
These will last awhile in the fridge so don’t be scared to double or triple the entire recipe.
Like these protein peanut butter cups? Try our Pumpkin Protein Cups next!
No Bake Protein Peanut Butter Cups
The Protein Chef is a participant in the Amazon Services LLC Associates Program, an affiliate advertising program designed to provide a means for us to earn fees by linking to Amazon.com and affiliated sites. As an Amazon Associate, I earn from qualifying purchases.
Ingredients
- 2 Tablespoons Peanut Butter
- 2 Tablespoons Powdered Peanut Butter - or Peanut Flour
- 1 Teaspoon Vanilla Extract
- 1 Scoop Protein Powder - I love vanilla
- ¼ Cup Chickpeas - Reduced Sodium (or Any Other White Bean)
- ½ Ounce Milk Substitute - or Milk
- 2 Tablespoons Chocolate - Dark
Instructions
- Combine all of your ingredients aside from your Dark Chocolate into a food processor or really powerful blender
- Process or blend everything together until it starts to clump up (be careful not to burn out your motor)
- Take out a muffin pan or silicone cups and evenly distribute your mix into however many you want to make
- Melt your Dark Chocolate on either the stovetop or in a microwave
- Evenly distribute your melted chocolate on top
- Put them in the freezer for 10-15 minutes so that they can harden up
Video
Notes
- Calories: 563
- Fat: 27g
- Saturated Fat: 8g
- Sodium: 455mg
- Carbs: 37g
- Fiber: 9g
- Sugar: 17g
- Protein: 43g
- Calories: 140
- Fat: 6.7g
- Saturated Fat: 2g
- Sodium: 113.7mg
- Carbs: 9.2g
- Fiber: 2.2g
- Sugar: 4.2g
- Protein: 10.7g
Nutrition
12 Comments
Leave a Comment

receive our free eBook!
 FREE DOWNLOAD

Absolutely delicious. Another wonderful recipe, thank you Derek! And amazing macos. Mine are 105 cals each with 10 g protein, which is hard to get anywhere else.
These are fantastic! My diabetic husband loves them and says that just one is really filling and satisfying. Sadly, too high in calories for me.
Mine were nice and firm, even at room temp (after cooling,) for this reason: I accidentally used double the amount of protein powder (hard to figure out how much a “scoop” was, but I figured it out after the fact by comparing the metric measurements vs my container of protein powder.)
I also added a bit of sweetener to the PB mix: golden monkfruit and allulose.
I used Lily’s semisweet choc chips for the top & bottom.
Wanted to thank you for turning me on to silicone muffin cups! They cleaned up beautifully in the dishwasher.
But I found the process of spreading the chocolate in the cups a bit too fiddly. Next time I make these, I’ll make a quadruple batch, and just spread everything out on a baking pan with parchment paper, and cut them into bars after cooling.
Thanks for the GREAT recipes!
Made these with an extra layer of chocolate underneath. These turned out really great. A little too soft for me in the fridge, I keep them in the freezer and they are perfect! Great recipe!
These are AMAZING!!! Thank you so much for this recipe! 😀
I did as you suggested with the dark chocolate top & bottom & it worked great…. for those that don’t want the extra chocolate…. I found dip your finger into the PB2 & you can touch the filling without the sticky fingers! It really helps to make the top smooth & the top layer of chocolate sets really nice.
Great tip! Using oil on my fingers sometimes makes the outside too oily. Using water doesn’t last.
I would love to make these, but allergic to all beans, any suggestions on a replacement?
Sorry forgot to say they do taste SOOOO GOOD….
I tried these for the 1st time & the filling is so super sticky & it “did” soften & start to melt in the fridge? I doubled the recipe as your YouTube channel said it could be…. any suggestions?
Hi J! Glad you liked them aside from them melting a bit! If you can I would just keep them in the freezer and let them thaw for around 5 minutes or so before you eat them. Another option is if you layer the bottom with chocolate and then the top so that they are sealed in, that will help prevent them from melting too!